 Save
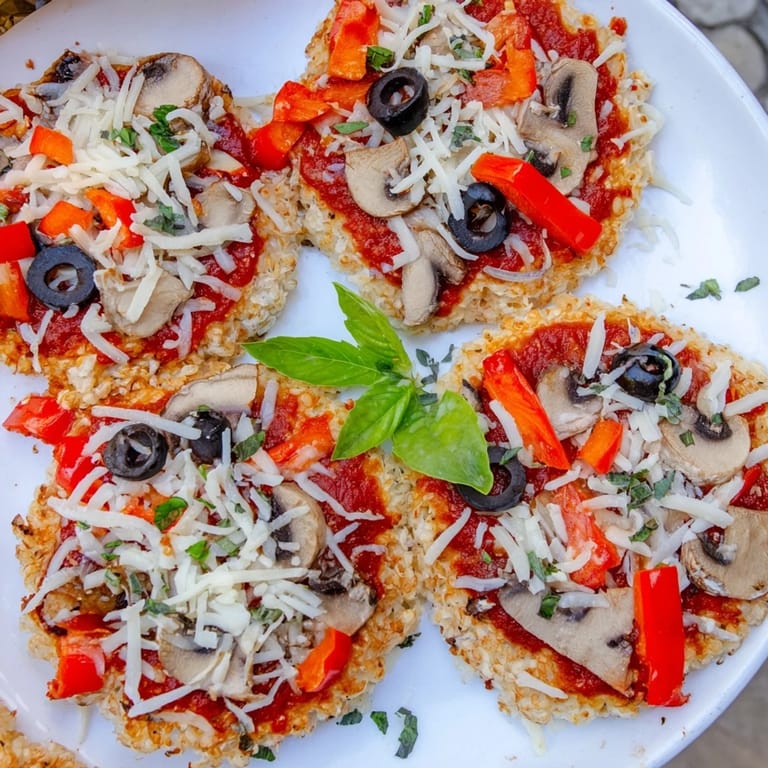
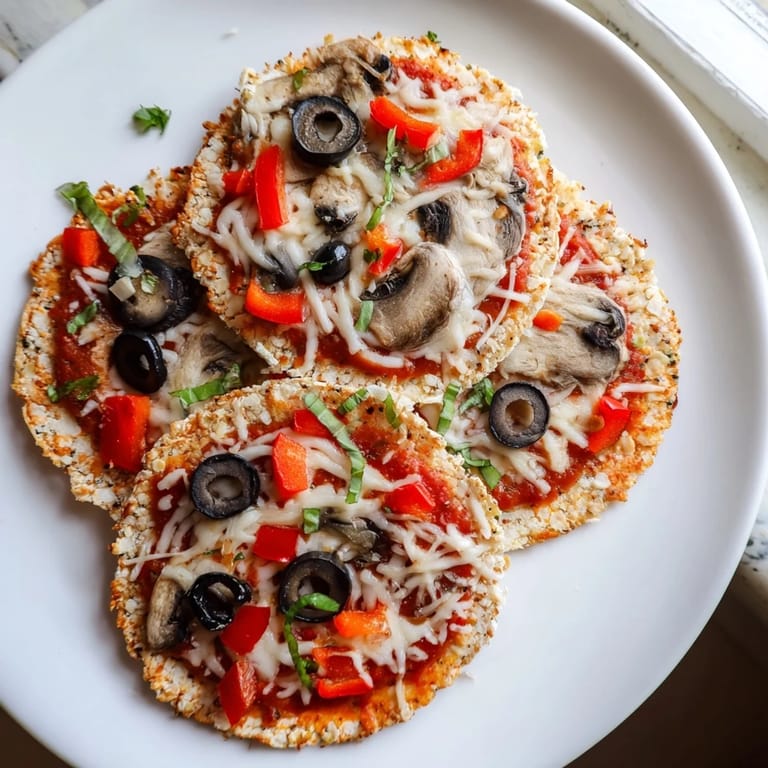
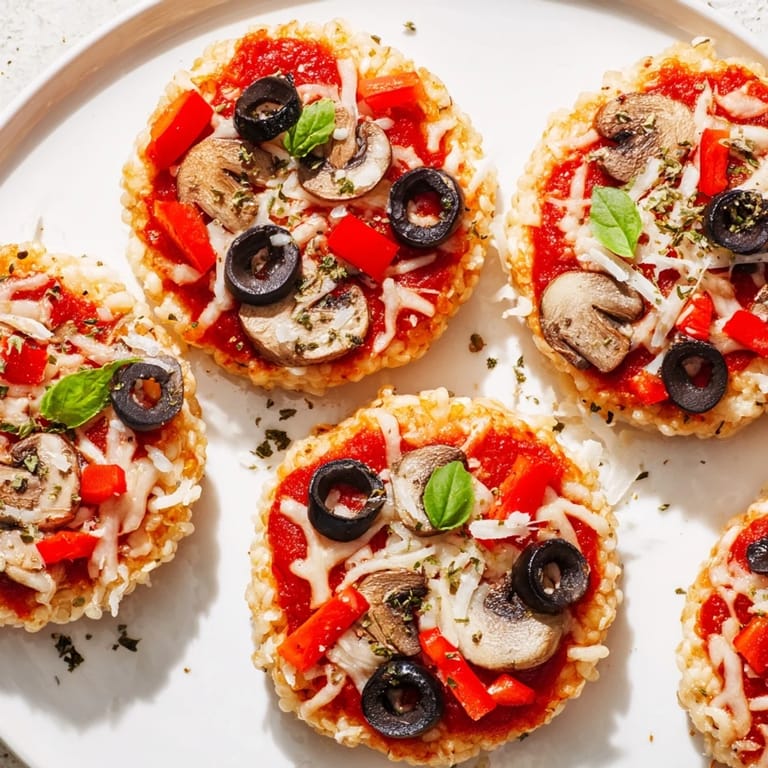
Save My partner came home one afternoon complaining about a pizza craving, but we'd just cleared the fridge of everything except rice cakes and some leftover sauce. I thought, why not?, and within minutes we had these crispy little squares bubbling in the oven. What started as a scramble became our favorite late-afternoon snack, and now I make them whenever I need something that feels indulgent but doesn't require a trip to the store.
I served these to friends who were skeptical about rice cakes until they took their first bite and realized the cheese had turned them into something entirely different. The way the mozzarella pooled around the edges and got those crispy golden spots changed minds faster than any explanation could.
Ingredients
- Large plain rice cakes (4): These are your foundation, and they hold up better than you'd expect when topped with cheese and sauce. Look for ones that are sturdy but not so thick they won't crisp up in the oven.
- Pizza sauce (1/2 cup): Any good pizza sauce works here; I've used jarred sauce, homemade, even leftover marinara in a pinch. Don't skimp on flavor because the rice cake is mild and needs a flavorful anchor.
- Shredded mozzarella cheese (1 cup): Fresh mozzarella gets watery, so stick with the kind that comes shredded. It melts more evenly and creates those satisfying cheese pulls.
- Grated Parmesan cheese (2 tablespoons, optional): This adds a salty, sharp note that keeps the whole thing from tasting one-dimensional. Don't leave it out if you have it.
- Toppings (olives, peppers, mushrooms, pepperoni, fresh basil or oregano): Choose what speaks to you, but remember that watery vegetables release moisture as they bake. Pat them dry with a paper towel first.
Instructions
- Heat your oven and prep:
- Preheat to 400°F and line your baking sheet with parchment paper. This takes the anxiety out of cleanup and keeps the bottoms from sticking.
- Arrange the rice cakes:
- Space them out in a single layer so heat circulates evenly around each one. This is where they start their transformation from bland to crispy.
- Spread the sauce:
- Use about 2 tablespoons per rice cake, spreading it to the edges with the back of a spoon. A thin, even layer prevents sogginess.
- Add the cheese:
- Sprinkle mozzarella first, then Parmesan if using. The cheese is what holds everything together and creates those gorgeous bubbles.
- Top with your favorites:
- Add whatever toppings you're using, remembering that less is more. Overloading them means longer baking and less crispiness on the rice cake.
- Bake until melted:
- Ten to twelve minutes at 400°F is the sweet spot for melted, bubbly cheese without burning the bottom. Keep an eye on them the first time you make them because ovens vary.
- Cool briefly and slice:
- Let them rest for a minute, then cut each rice cake in half to create those perfect squares. The slight cooling helps them hold together.
- Finish and serve:
- A sprinkle of fresh basil or oregano right before serving adds brightness and makes them feel restaurant-quality.
 Save
Save There's something wonderful about taking something as humble as a rice cake and turning it into something people actually ask for. My nephew now asks for them at every visit, and that shift from curiosity to genuine anticipation is worth every pan I've made.
Sauce and Flavor Swaps
Pizza sauce is the classic move, but this is where you can get creative without overcomplicating things. I've brushed pesto on the base for a green version, used BBQ sauce for something smoky and sweet, and even tried spicy arrabbiata when I wanted heat. Each sauce completely changes the personality of the squares, so don't feel locked into the original idea.
Making Them Vegan or Dairy-Free
If dairy isn't on your table, cashew-based cheese and plant-based pepperoni work surprisingly well. The texture isn't identical to the real thing, but it still melts and browns, and topped with plenty of vegetables, no one feels like they're missing out. I've found that a slightly longer bake time (maybe 14 minutes) helps dairy-free cheese get properly melted.
Timing and Serving Ideas
These squares are perfect when you're hungry in that late-afternoon or early-evening window when dinner feels too far away. They also work as an appetizer if you're having people over and want something that looks more intentional than just snacks on a plate. Make them ahead, store them in an airtight container, and reheat gently in a 350°F oven for 3 to 4 minutes if they've cooled down.
- Pair them with a simple side salad to turn them into a light meal that actually satisfies.
- They're best eaten warm, when the cheese is still soft and the rice cake edges are at their crispiest.
- If you have leftovers, they keep for up to 3 days and reheat better than you'd expect.
 Save
Save This recipe proves that some of the best discoveries come from working with what you have instead of what you planned to use. Once you make them, you'll understand why they've become a quiet favorite in so many kitchens.
Kitchen Q&A
- → Can I use dairy-free cheese alternatives?
Yes, using dairy-free cheese works well for a vegan-friendly version without sacrificing creaminess.
- → How can I make this dish spicier?
Try adding spicy arrabbiata sauce or sprinkle crushed red pepper flakes on top before baking.
- → Are there suggestions for alternative toppings?
Consider pesto, BBQ sauce, fresh basil, or different vegetables like cherry tomatoes or spinach for variety.
- → Is the dish suitable for gluten-free diets?
Yes, using plain rice cakes keeps it gluten-free, but always check packaging for cross-contamination risks.
- → What is the best way to serve these squares?
Serve warm, garnished with fresh herbs, alongside a crisp salad for a balanced snack or light meal.
- → How long should I bake the squares for optimal texture?
Baking for 10–12 minutes at 400°F melts the cheese perfectly while keeping rice cakes crispy.