 Save
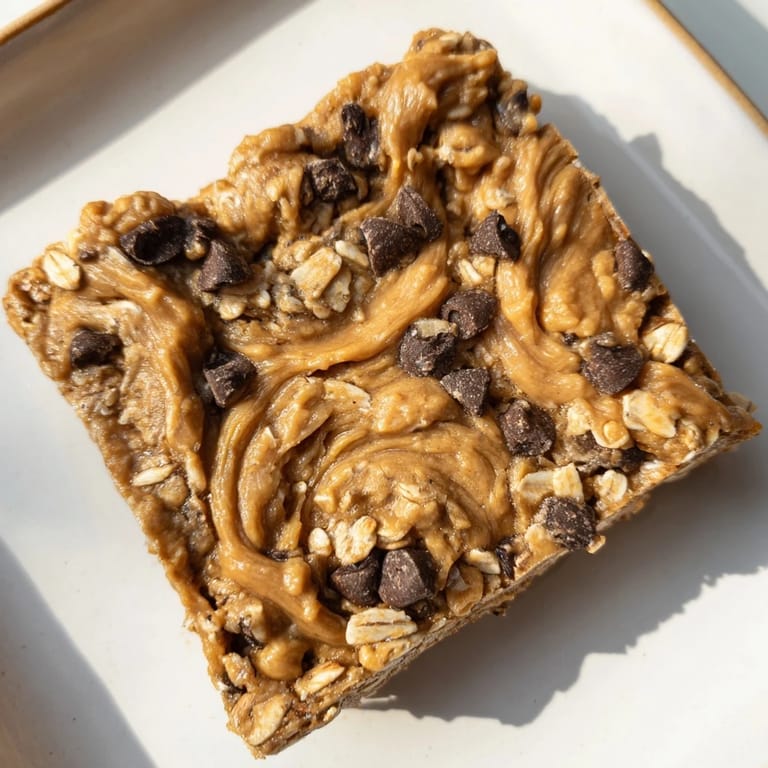
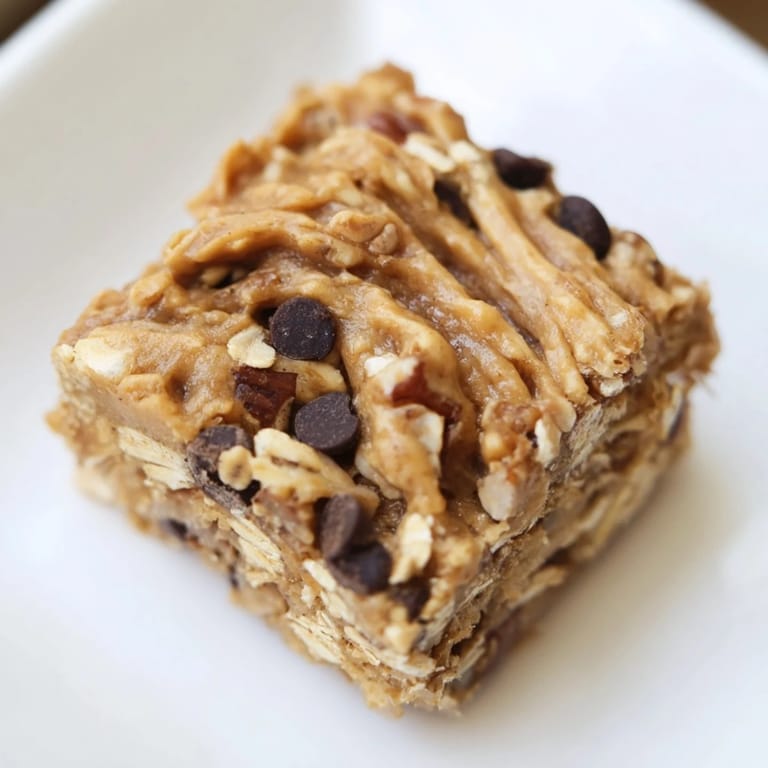
Save I discovered these bars on a Tuesday morning when I was frantically searching for something to fuel a long hike and realized I had nothing but bananas, peanut butter, and oats sitting in my kitchen. What started as desperation turned into something I now make every week—no oven required, just a bowl, some stirring, and one hour in the fridge. The combination of creamy peanut butter and ripe banana is so naturally sweet that you barely need honey, and the oats give you that satisfying chew that makes them feel almost indulgent despite being wholesome. Friends have stopped asking for cookie recipes and started asking for these instead.
Last summer I made a triple batch of these for my nephew's soccer team and watched them vanish faster than the store-bought granola bars I'd brought the week before. One of the dads pulled me aside afterward and asked for the recipe because his kids actually wanted seconds—something that apparently never happens with snacks. That moment made me realize how rare it is to find something that tastes indulgent but genuinely fuels you.
Ingredients
- Ripe bananas: The sweeter and softer they are, the better—those ones you were about to toss are exactly what you want here.
- Creamy peanut butter: The smooth kind works best for a uniform texture, though I've used natural peanut butter plenty of times with great results.
- Honey or maple syrup: Either works beautifully; use whichever you have and prefer the flavor of.
- Vanilla extract: Just a teaspoon rounds out all those flavors and makes everything feel a bit more intentional.
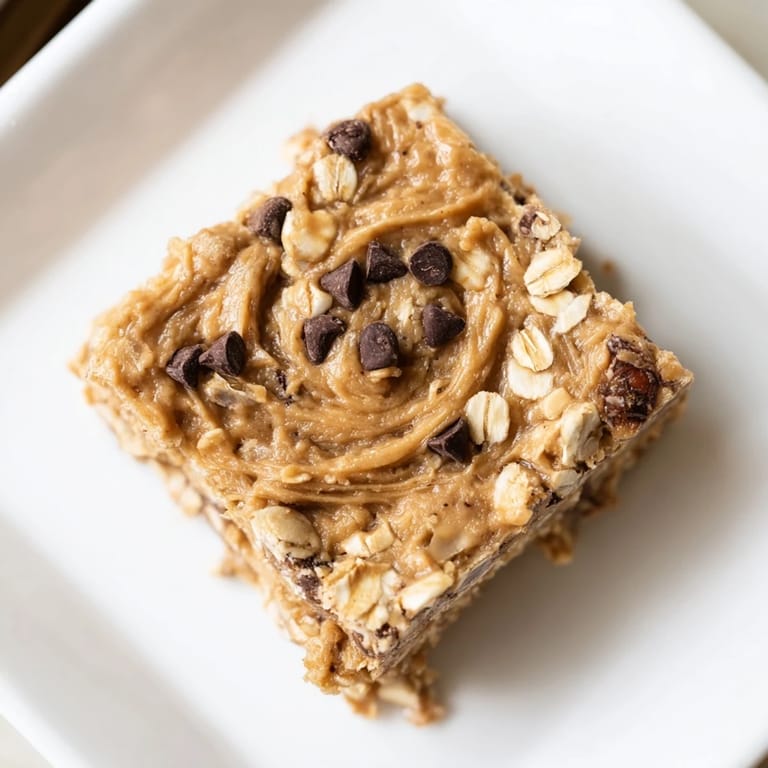
- Old-fashioned rolled oats: Don't use instant—they'll make the mixture too mushy and lose that satisfying texture you're after.
- Walnuts or pecans: Optional, but they add a pleasant crunch and make the bars feel more substantial.
- Mini chocolate chips: These are entirely optional but honestly, they make the bars feel special without being overwhelming.
- Salt and cinnamon: Salt deepens all the flavors, and cinnamon adds warmth without you tasting it directly.
Instructions
- Prep your pan:
- Line your 8x8-inch pan with parchment paper and let it overhang on two sides—this is the magic trick that lets you lift the whole block out without struggling. It takes 30 seconds and saves you the frustration of crumbling bars everywhere.
- Mash those bananas:
- In a large bowl, break down the bananas until they're mostly smooth with just a few small lumps remaining. Don't overthink it; a fork works perfectly fine.
- Build the base:
- Stir the peanut butter, honey, and vanilla into the mashed bananas until everything is combined and creamy. You'll notice the mixture transforms into something that smells absolutely wonderful—that's when you know you're on the right track.
- Bring it together:
- Sprinkle in the oats, salt, cinnamon, and any mix-ins you're using, then stir until there are no dry oat streaks left. The mixture should feel thick and come together when you press it.
- Press into the pan:
- Transfer everything to your prepared pan and use the back of a spoon or spatula to press it down firmly and evenly. This step determines how the bars will slice, so take a moment to get it smooth and compact.
- Chill and set:
- Refrigerate for at least one hour until the mixture is firm enough to cut cleanly without falling apart. Most people chill overnight because the texture gets even better the longer it sits.
- Slice and store:
- Lift the whole block out using that parchment overhang and slice into 12 bars with a sharp knife. Store them in an airtight container in the fridge where they'll stay fresh for a full week.
 Save
Save I remember being surprised the first time I brought these to work and watched someone eat one slowly, like they were savoring it, then ask if I was selling them. That moment shifted something for me—these weren't just a quick snack I'd invented out of necessity, they became something worth sharing intentionally.
Why These Bars Feel Different
There's something about a no-bake recipe that feels almost rebellious in a kitchen culture obsessed with ovens and timing. You skip the preheating, the timer anxiety, the hot kitchen, and still end up with something that tastes carefully made. The bars taste indulgent enough to feel like a treat but wholesome enough that you can eat one without any of that guilty feeling that comes with conventional snacks. It's the perfect middle ground for people who want real food that doesn't require real effort.
Mix-In Ideas and Variations
While the base recipe is perfect on its own, these bars are endlessly customizable based on what you have and what sounds good. I've made them with almond butter when I was out of peanut butter and honestly preferred the subtler flavor. Some weeks I add dried cranberries or chopped dates for brightness, other times I go the chocolate route with dark chocolate chips instead of milk chocolate. The recipe is flexible enough to adapt to whatever feels right in the moment or what's lingering in your pantry.
Storage and Meal Prep Magic
These bars are genuinely one of the best things to make ahead because they actually improve as they sit in the fridge, getting firmer and the flavors more integrated. I usually wrap each bar individually in parchment paper so they're grab-and-go ready for busy mornings, hiking trips, or those moments when you need a real snack that actually satisfies. They've become my secret weapon for avoiding the vending machine at work.
- Make them at the beginning of the week so you have quick snacks ready for the next seven days.
- Wrap individual bars tightly to prevent them from absorbing fridge odors and to make grabbing one effortless.
- If you ever want to serve them at a gathering, let them come to room temperature for 15 minutes first—they'll taste slightly less dense and slice more cleanly.
 Save
Save These bars have become the snack I reach for when I need something that actually feels nourishing, tastes genuinely good, and requires almost zero effort. There's real comfort in knowing something this simple and honest is always just a few ingredients and an hour away.
Kitchen Q&A
- → Can I make these bars vegan?
Yes, replace honey with maple syrup and use dairy-free chocolate chips to keep the bars vegan-friendly.
- → How should I store these bars?
Store the bars in an airtight container in the refrigerator for up to one week to maintain freshness.
- → Are there any nut-free alternatives?
You can substitute peanut butter with almond or sunflower seed butter for a different nut profile.
- → Can I add dried fruits to these bars?
Yes, adding dried cranberries or raisins enhances flavor and texture without changing the preparation.
- → Is baking required to prepare these bars?
No baking is necessary; simply mix the ingredients, press into a pan, and chill until firm.