 Save
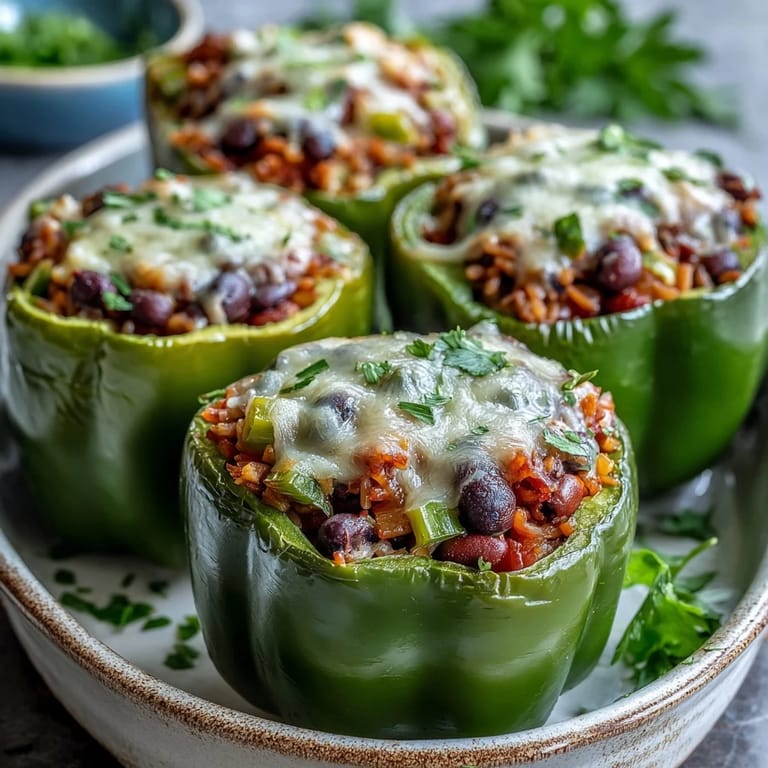
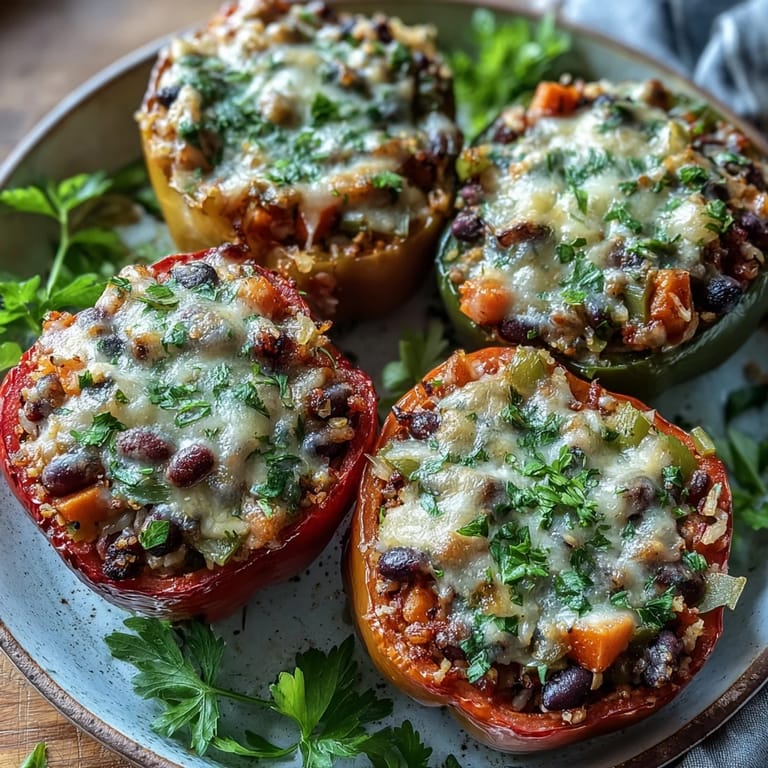
Save My neighbor brought over a casserole dish one autumn evening, steam still rising from under the foil, and I opened it to find these jewel-toned peppers stuffed with something that smelled like comfort and garden vegetables. She'd made them on a whim with what she had in the pantry—black-eyed peas left over from Sunday dinner, rice cooling on the counter, and peppers from the farmers market. That first bite changed how I thought about vegetarian cooking; it wasn't trying to be anything other than itself, and somehow that made it everything.
I made these for my sister's potluck last spring, nervous that nobody would touch them because they didn't have meat. Instead, people kept asking for the recipe, and one friend came back for seconds while telling me she'd been thinking about them all week. That's when I realized this dish has a quiet power—it doesn't announce itself, but it sticks with people.
Ingredients
- Bell peppers (4 large, any color): Choose peppers that are roughly the same size so they cook evenly; I've learned the hard way that a giant pepper next to a smaller one means uneven texture.
- Black-eyed peas (1 cup cooked): Canned are absolutely fine, but drain and rinse them well or they'll taste too salty; dried peas cooked fresh have a slightly earthier quality.
- Long-grain rice (1 cup cooked): Use whatever you have—white, brown, or even a blend—just make sure it's already cooked and cooled slightly so it doesn't get mushy.
- Onion, garlic, carrot, celery (1 small onion, 2 cloves garlic, 1 carrot, 1 stalk celery): This is your flavor foundation; finely dicing everything ensures even cooking and lets each bite taste balanced.
- Smoked paprika (1 teaspoon): Don't skip this—it gives the filling a warmth that makes people ask what the secret ingredient is.
- Ground cumin (1 teaspoon): Adds earthiness; toast it in the warm oil for a few seconds before adding vegetables to wake up its flavor.
- Dried thyme, salt, black pepper, cayenne (1/2 teaspoon thyme, 1/2 teaspoon salt, 1/4 teaspoon pepper, 1/4 teaspoon cayenne): These spices tie everything together; taste as you go because salt levels vary depending on your broth and canned peas.
- Fresh parsley (2 tablespoons, plus extra for garnish): The bright note that reminds you this is a fresh, living dish and not just beans and rice.
- Olive oil (2 tablespoons): Use good quality if you have it; it makes a real difference in how the vegetables soften and caramelize.
- Vegetable broth (1 cup): This creates steam that keeps the peppers tender; if your broth is salty, use a bit less so the seasoning stays balanced.
- Shredded cheese (1/2 cup, optional): Cheddar brings a sharp, familiar comfort; Monterey Jack is milder and melts beautifully; either way, this is the golden crown on top.
Instructions
- Heat your oven and prep the peppers:
- Set your oven to 375°F and let it preheat while you work. Slice the tops off your peppers, scoop out the seeds and white membranes with a small spoon—this part takes patience but goes faster if you just relax into it—then brush the outside of each pepper lightly with olive oil and stand them upright in your baking dish like little edible bowls waiting to be filled.
- Build the flavor base:
- Warm the remaining olive oil in a large skillet over medium heat until it shimmers, then add your chopped onion and cook for about two minutes before adding the garlic so it doesn't burn. Once you smell that gorgeous garlicky perfume, add the carrot and celery and keep stirring for about four more minutes until everything softens and the kitchen smells like home cooking.
- Combine the filling:
- Stir in your black-eyed peas and rice, then sprinkle in the smoked paprika, cumin, thyme, salt, pepper, and cayenne if you want heat. Cook for just two or three minutes, stirring constantly so the spices bloom and coat everything evenly—you should see the mixture darken slightly as the paprika toasts.
- Season and finish the filling:
- Take the skillet off the heat and fold in the fresh parsley, then taste a spoonful and adjust seasoning as needed because this is your moment to make it taste exactly right. The filling should taste well-seasoned but not overwhelming, since it will develop more depth as it bakes.
- Fill the peppers:
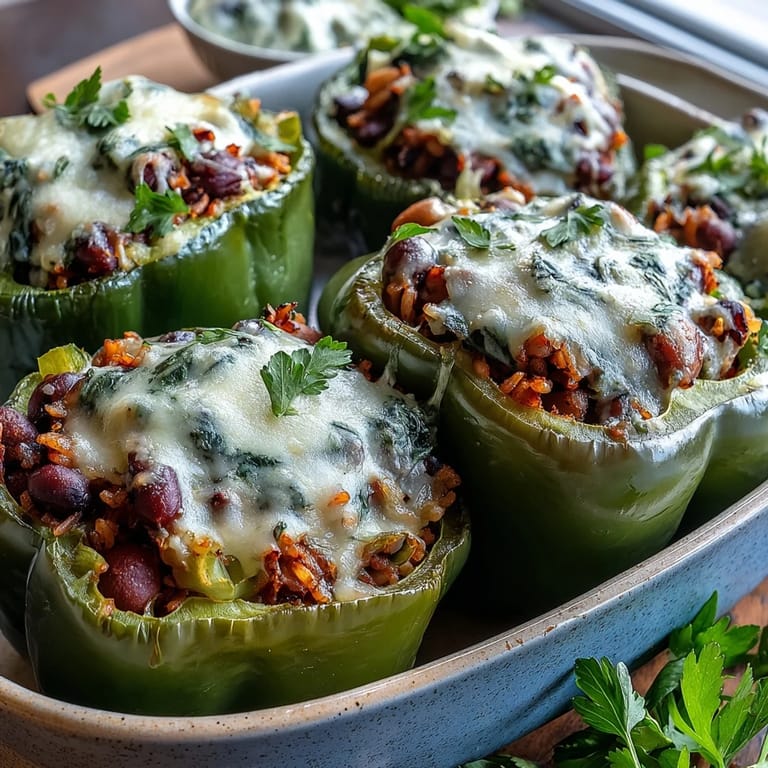
- Divide the filling evenly among your four peppers, mounding it generously into each one. If you're using cheese, sprinkle it over the top of each pepper now so it gets melty and golden as everything bakes.
- Add steam and cover:
- Pour the vegetable broth into the bottom of the baking dish around the peppers—not over them—then cover the whole dish tightly with foil to trap the steam. This step is what keeps the peppers tender instead of wrinkled.
- First bake (covered):
- Slide everything into the oven for thirty minutes covered. You don't need to check on them; the foil is doing its job.
- Second bake (uncovered) and finish:
- Remove the foil carefully so the steam doesn't burn your face, then bake uncovered for another ten minutes or so until the pepper skins look slightly blistered and the cheese on top is bubbling and turning golden. The peppers are done when you can easily pierce them with a fork.
- Rest and serve:
- Let them sit for a few minutes before serving so they're easier to handle and taste even better. Garnish with extra fresh parsley for color and a bright finishing note.
 Save
Save One winter I made these for my family on a night when everything felt a little chaotic, and watching my dad go back for seconds while my mom asked for the recipe made me realize that feeding people something genuine—something made with thought and care—can quiet the noise for a while. These peppers became the thing I make when I want to say something without saying it out loud.
Making This Dish Your Own
The beauty of stuffed peppers is that they're a canvas for whatever you have on hand or whatever you're craving that day. I've added corn for sweetness, diced tomatoes for acidity, even some roasted chickpeas for extra crunch, and every version has been good. The ratio of peas to rice to vegetables is flexible; if you have more vegetables, use them; if you want more peas, go ahead—just keep the total volume roughly the same so the peppers don't burst.
Storing and Reheating
These keep beautifully in the refrigerator for up to four days, and the flavors actually meld and deepen overnight, which is why they're perfect for meal prep. To reheat, cover loosely with foil and warm at 350°F for about fifteen minutes until heated through; you can also microwave individual peppers for about two minutes, though the stovetop method keeps the texture better. They also freeze exceptionally well if you want to make a double batch on a Sunday afternoon when you're feeling generous with your future self.
Serving Suggestions and Pairings
These peppers stand confidently on their own as a main course, but they're also wonderful with fresh sides that brighten the plate. Serve them with a crisp green salad dressed in vinaigrette, some crusty bread for soaking up any delicious filling that escapes, or a simple tomato salad if you want to keep things light. If you're feeding people with different diets, this dish naturally works for vegetarians while being hearty enough that nobody feels like they're eating differently from everyone else.
- A squeeze of fresh lime juice right before serving adds brightness that cuts through the richness of the cheese.
- Serve with hot sauce on the side so people can adjust the heat level to their preference.
- If you make these for company, prepare them up to the foil stage the night before and bake them fresh when you're ready to serve.
 Save
Save There's something deeply satisfying about serving food that looks like it came from a magazine but tastes like it came from someone's actual kitchen, made with ingredients you understand and flavors you can identify. These stuffed peppers do exactly that, and they've earned their place in regular rotation at my table.
Kitchen Q&A
- → Can I make these stuffed peppers ahead of time?
Yes, you can prepare the filling and hollow out the peppers up to a day in advance. Store them separately in the refrigerator. When ready to bake, fill the peppers and proceed with the baking instructions. You may need to add a few extra minutes to the baking time if starting from cold.
- → What other vegetables work well in the filling?
You can add diced zucchini, corn, chopped tomatoes, or spinach to the filling mixture. Sauté them along with the onion and garlic so they cook down properly. This is a great way to use up extra vegetables and add more nutrition to the dish.
- → How do I store leftovers?
Store leftover stuffed peppers in an airtight container in the refrigerator for up to 4 days. Reheat in the microwave or in a 350°F oven until warmed through. They also freeze well for up to 3 months—wrap individually and thaw before reheating.
- → Can I use dried black-eyed peas instead of canned?
Absolutely. Cook one cup of dried black-eyed peas according to package directions until tender, then drain and use them in the filling. This typically takes about 45-60 minutes of simmering. You'll need about 2-3 cups of cooked peas, which is roughly equivalent to the canned amount.
- → What can I serve with stuffed peppers?
These make a complete meal on their own, but you can serve them with a simple green salad, crusty bread, or cornbread. For a larger spread, consider adding roasted vegetables or a light soup. They also pair nicely with sour cream or Greek yogurt as a topping.
- → How do I know when the peppers are done?
The peppers are done when they're tender when pierced with a fork and the filling is hot throughout. The skin should be slightly wrinkled, and if using cheese, it should be golden and bubbly. This usually takes about 40 minutes total baking time.