Save
Save My daughter came home from school asking if we could make something that looked like a spaceship, and honestly, I panicked. Then I opened the fridge and saw the sharp cheddar wedges I'd bought for a charcuterie board that never happened, and those perfect red strawberries sitting in the crisper drawer. Within minutes, the Retro Rocket was born, and she spent the next twenty minutes arranging and rearranging it like she was actually prepping for launch.
I made this for a friend's book club once, figuring a whimsical snack would balance out the serious literary discussion. The moment everyone walked in, they stopped talking about the novel entirely and started taking photos of the rocket. That's when I realized this isn't just food; it's a conversation starter that somehow makes people feel like they're at a fun, slightly more adventurous gathering than they actually are.
Ingredients
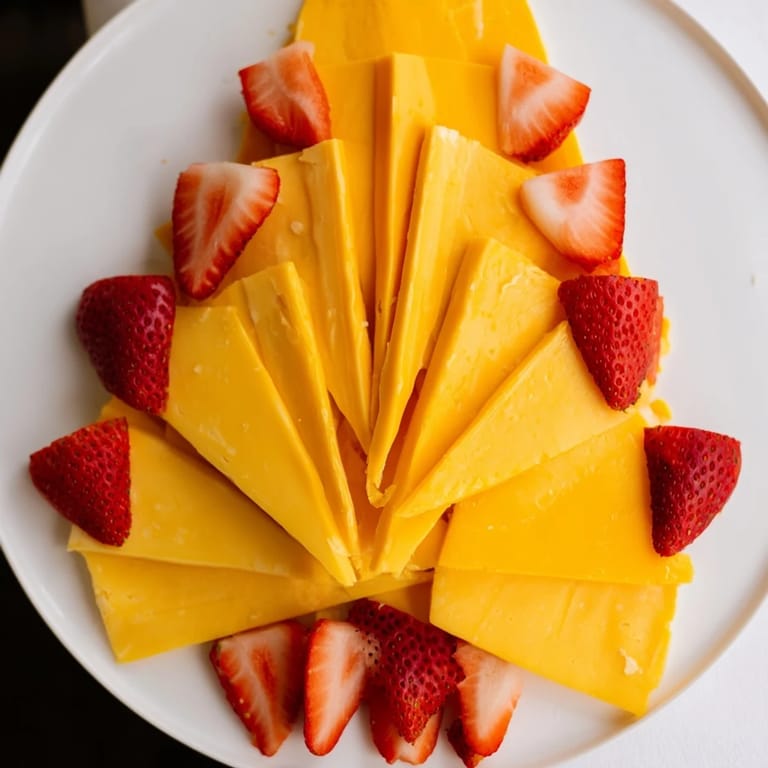
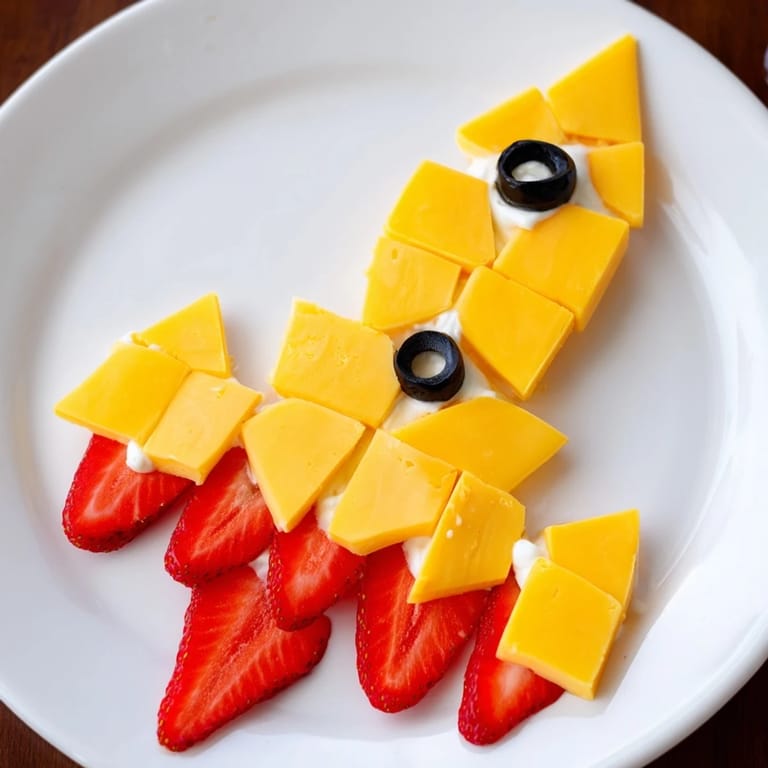
- Sharp cheddar cheese, cut into pointed wedges (200 g): The wedges are the architecture of your rocket, so cut them at angles to get that sleek, pointed look that actually reads as a spaceship.
- Cream cheese, optional (100 g): This is your secret assembly glue; a tiny dab between wedges keeps everything from sliding apart when someone inevitably pokes the rocket.
- Fresh strawberries, hulled and sliced lengthwise (200 g): Cut them long so they fan out like actual flames—this is where the visual magic happens.
- Fresh mint leaves, optional (1 tablespoon): A few green leaves scattered around add dimension and make the whole thing look intentional, not rushed.
- Black olives, sliced, optional (1 tablespoon): These become the windows or portholes, giving your rocket personality and purpose.
- Carrot sticks, thin (2–3): The fins that complete the rocket silhouette and add a pop of orange that brings the whole design together.
Instructions
- Build Your Rocket Body:
- Arrange those cheese wedges on your platter in a tapered formation, overlapping them slightly so they support each other and create that unmistakable rocket shape. Think pointed nose cone at the top, getting wider as you move down.
- Secure with Cream Cheese:
- If your wedges seem wobbly, dab a little cream cheese between them like you're using structural sealant. It sounds fussy, but it's the difference between a rocket that stays put and one that shifts when someone reaches across the platter.
- Create the Flames:
- Fan out those strawberry slices at the base, letting them cascade like they're shooting out of an engine. The more dynamic and wild you let them spread, the more alive the rocket looks.
- Add the Details:
- Pop those black olive slices onto the rocket body as windows or decorative details—this is where you get to play artist and make it your own.
- Finish with Flourishes:
- Tuck carrot sticks in as fins and scatter mint leaves around for color. Step back and see if it reads as a rocket; if not, keep tweaking until it does.
- Serve Immediately or Chill:
- If you're eating soon, serve right away while everything's fresh and crisp. If you need to prep ahead, cover it loosely and refrigerate, then give it a quick visual refresh before guests arrive.
 Save
Save There's something about making food into a shape that shifts how people experience it. A plate of cheese and fruit is forgettable, but a rocket? That becomes a memory, something people talk about the next day.
Playing with Color Variations
The beauty of this platter is that you can completely change its personality by swapping in different cheeses and fruits. Use Gouda for warm gold tones, Swiss for pale cream with those gorgeous holes you can use as windows, or even add sliced mango or orange instead of strawberries if you want a different flame aesthetic. I've made versions that lean yellow and gold for a sunset rocket, and versions that stay mostly white with just a pop of red, depending on what I had in the kitchen.
Serving Suggestions and Pairings
While the rocket is absolutely a standalone star, it gains another layer when you give it company. Set out some good crackers nearby, add a few breadsticks on the side, maybe some nuts if people aren't allergic. I've also served it alongside a quiet dip (hummus or a creamy herb situation) tucked off to the side, so people have the option to make it more substantial if they want.
Why This Works at Every Gathering
This recipe succeeds because it does multiple things at once: it's vegetarian and naturally gluten-free, it requires zero cooking skills or heat, and it solves the eternal party problem of wanting something that looks intentional without spending hours in the kitchen. People see it and immediately feel like they've landed somewhere thoughtful and fun. The effort-to-impact ratio is absolutely unbeatable.
- Make it the day-of but assemble it no more than an hour before serving so everything stays fresh and crisp.
- If any wedges shift during transport, just do a quick adjustment right before people see it—no one will know it wasn't perfect the whole time.
- The optional ingredients are truly optional; you can make a stunning rocket with just cheese and strawberries if that's all you've got.
 Save
Save This rocket has become my go-to when I want to bring something that's equal parts delicious and delightful. It's proof that some of the best party moments come from looking at the ingredients in front of you and deciding to make something playful.
Kitchen Q&A
- → What cheese works best for the rocket body?
Sharp cheddar cheese cut into wedges provides both firmness and vibrant color, ideal for forming the rocket body.
- → Can other fruits replace strawberries for the flame effect?
Yes, mango or orange slices create a similar bright, fiery look while offering different flavor profiles.
- → How do I keep the cheese wedges stable on the platter?
Using small dabs of cream cheese between wedges helps hold the structure firmly together during presentation.
- → Are there decorative options to enhance the rocket theme?
Black olive slices can be used as windows, while carrot sticks and fresh mint leaves add fins and color accents.
- → What is a good serving suggestion for this snack?
Pairing with crackers or breadsticks offers added texture and makes it perfect for sharing at parties.