 Save
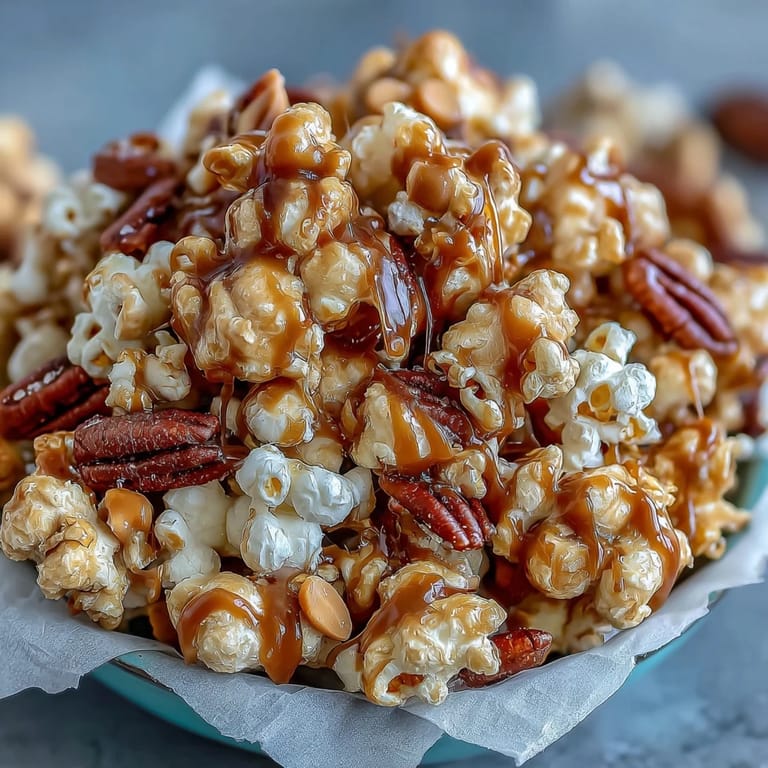
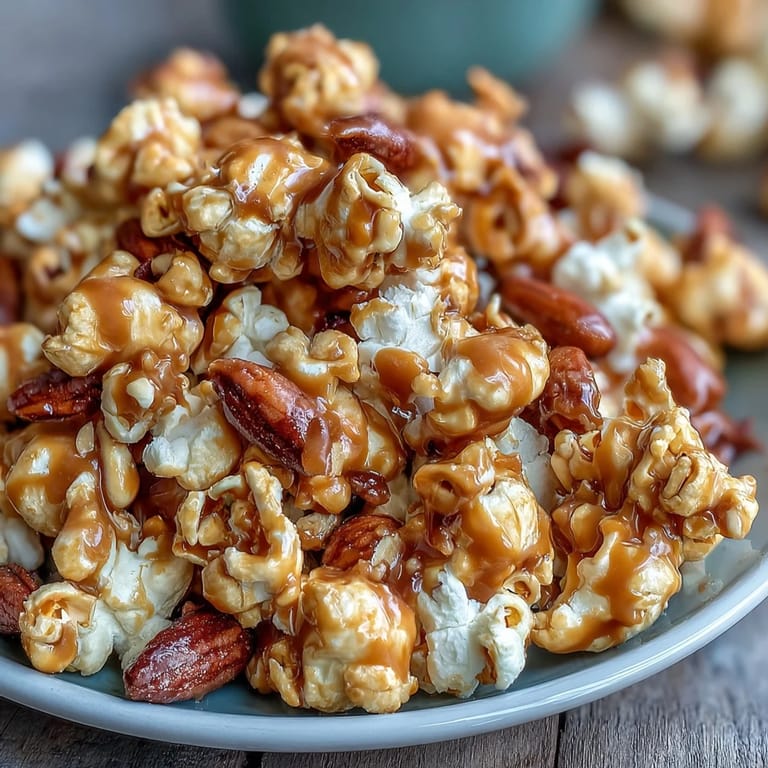
Save My uncle showed up to a baseball game with a tin of homemade caramel popcorn mix, and I remember thinking he was a genius for combining something so simple into pure snacking gold. The way everyone's hand kept reaching back into that container between innings told me everything I needed to know. Years later, I figured out his secret wasn't fancy ingredients or tricky technique—it was just knowing that sweet, salty, and crunchy together feel like a small victory. Now I make this whenever game day rolls around, and honestly, it disappears faster than the final out.
I made this the night before a neighborhood watch party, spread it out on a big wooden board with little paper cones tucked around it, and watched grown adults stop mid-conversation to grab another handful. One person asked if I'd bought it from some fancy popcorn shop, and I just smiled. There's something about homemade snack mix that makes people feel cared for in a way store-bought versions never quite manage.
Ingredients
- Freshly popped popcorn: Use an air popper or stovetop method for the best texture—microwave bags can leave waxy residue that prevents caramel from sticking properly.
- Roasted, salted peanuts: Buy them already roasted and salted to save time and ensure they stay crunchy after baking.
- Light brown sugar: This is essential for caramel depth; don't substitute with white sugar or you'll lose that molasses richness.
- Unsalted butter: This lets you control the salt level, which matters when your peanuts are already seasoned.
- Light corn syrup: It keeps the caramel from crystallizing and gives you that glossy, smooth coating.
- Kosher salt: Its larger crystals dissolve more evenly than table salt, creating better flavor distribution.
- Baking soda: This is the magic ingredient that makes the caramel foam and coat everything in those little pockets of texture.
- Pure vanilla extract: A small amount adds warmth without overpowering the caramel-and-peanut balance.
Instructions
- Set up your workspace:
- Preheat your oven to 250°F and line a large rimmed baking sheet with parchment paper—this keeps the mix from sticking and makes cleanup easy. Having everything ready before you start the caramel is important because once it's hot, you move fast.
- Combine popcorn and peanuts:
- Toss your freshly popped popcorn with the roasted peanuts in a large bowl, making sure they're evenly mixed. This is your base, and it should smell slightly salty and toasty.
- Make the caramel:
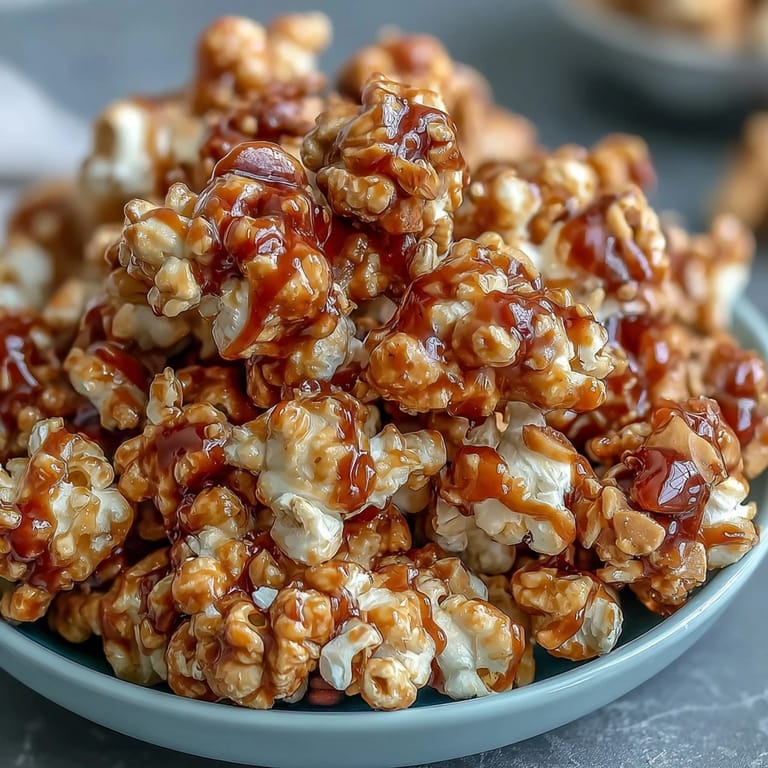
- In a medium saucepan over medium heat, combine brown sugar, butter, corn syrup, and kosher salt, stirring frequently until it comes to a gentle boil. You'll notice the mixture darkening slightly and smelling absolutely incredible.
- Let it bubble:
- Once boiling, stop stirring and let it bubble for 4 to 5 minutes—this is when the caramel develops its deep flavor. Resist the urge to stir; just watch it turn a shade darker.
- Add the lift:
- Remove from heat and immediately stir in the baking soda and vanilla extract—the mixture will foam up dramatically, which is exactly what you want. That foam is what creates all those little crispy clusters later.
- Coat everything quickly:
- Pour the hot caramel over the popcorn and peanuts while it's still warm and pourable, then use two spatulas or wooden spoons to toss everything until well-coated. Work quickly here because the caramel sets as it cools.
- Spread and bake:
- Transfer the mixture to your prepared baking sheet in an even layer, then bake at 250°F for 45 minutes, stirring every 15 minutes to ensure even coating and prevent burning. Each stir breaks up the clusters slightly and helps the caramel crisp up.
- Cool completely:
- Remove from the oven and let it sit on the baking sheet for at least 30 minutes before breaking it into clusters. Patience here prevents sticky fingers and gives everything time to reach that perfect crunch.
 Save
Save My kid sat at the kitchen counter watching the caramel bubble and foam, genuinely amazed that something so fancy-looking could come from stuff we already had on hand. When it came out of the oven and we broke it into clusters, their eyes got so big, and they insisted on packing some in their lunchbox the next day. Moments like that remind me why I keep making this—it's not just snack mix, it's watching someone's face light up when they taste something you made.
Storage and Make-Ahead Tips
Once completely cooled, store this in an airtight container and it'll stay crispy for up to a week, though honestly it rarely lasts that long. If you're making it for an event, you can prep it the day before and just break it into clusters the morning of—it actually helps the flavors meld overnight. Keep it away from humid areas because moisture is the enemy of crispy caramel.
Flavor Variations and Add-Ins
Once your mix has cooled completely, you can toss in other things that excite you—mini pretzel twists add a salty crunch that makes people reach for more, or dark chocolate chips melted slightly and mixed through while still warm create pockets of richness. I've also added dried cranberries, coconut flakes, or even a tiny sprinkle of cayenne pepper if I'm feeling adventurous. The base recipe is forgiving enough that you can play with it and make it your own.
Hosting with This Snack Mix
There's something about serving homemade snack mix that instantly makes a gathering feel warm and intentional, whether it's a casual game day or an impromptu movie night with friends. I usually transfer it into small bowls or cute paper cones scattered around the room so people aren't all reaching into one container. The best part is watching people's surprised reactions when you tell them you made it, followed immediately by them asking if you sell it or if you'd make more.
- Make extra because homemade snack mix is the kind of thing people gravitate toward without thinking.
- If you want to gift it, pack it in mason jars or pretty tins with a simple label—it looks fancy even though it's easy.
- Remember that freshness is part of the appeal, so if you're making it for an event, bake it the day before rather than weeks ahead.
 Save
Save This snack mix has become my answer to just about every gathering now, and I love that it's simple enough to make on a random Tuesday but impressive enough to bring to any party. The fact that people remember it and ask for it specifically feels like its own kind of winning season.
Kitchen Q&A
- → How do I ensure the popcorn stays crunchy?
Coat the popcorn evenly with the hot caramel and bake as directed, stirring regularly to prevent clumping and maintain crispness.
- → Can I substitute peanuts with other nuts?
Yes, roasted almonds or cashews can be used for a different nutty flavor but may slightly change the snack's texture.
- → What can I use instead of corn syrup in the caramel?
Light honey or maple syrup can be substituted, but keep an eye on cooking times as they may affect caramel consistency.
- → Is it possible to make a dairy-free version?
Use plant-based butter alternatives to replace unsalted butter for a dairy-free caramel coating.
- → How long does this mix keep fresh?
Store the cooled mix in an airtight container at room temperature to keep it fresh for up to one week.