 Save
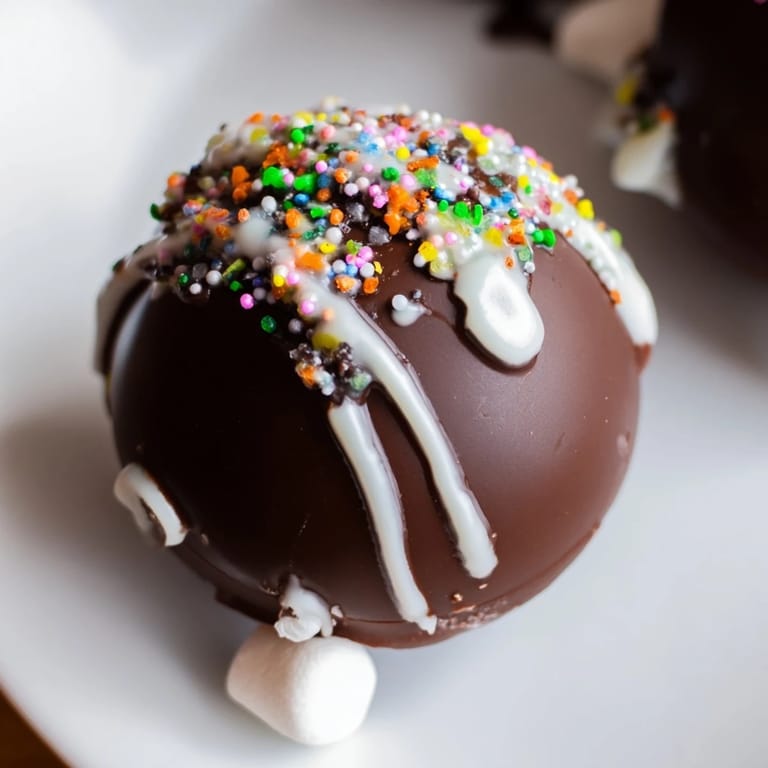
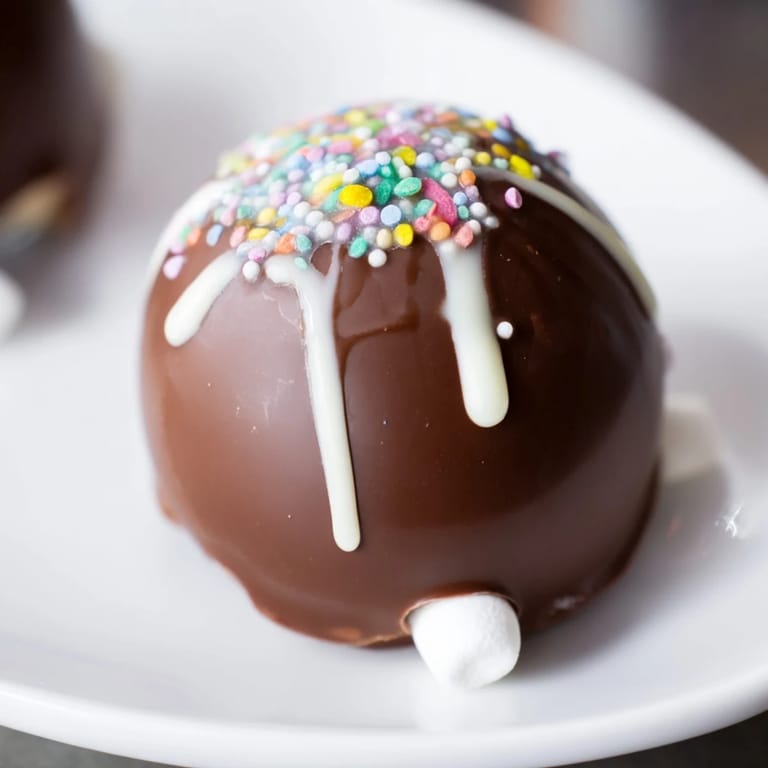
Save The first time I made chocolate bombs, I was standing in my kitchen at midnight on a random Tuesday, convinced I'd discovered something revolutionary. I'd seen them online and thought, how hard could it be? Turns out, the magic isn't in complexity—it's in that moment when someone pours hot milk over one and watches the whole thing dissolve into liquid chocolate heaven right before their eyes. That's when I knew I'd found my favorite kind of dessert to make: one that transforms in real time.
I remember making these for my sister's book club, and watching everyone's faces when they poured the milk over them was better than any compliment they could've given. One person called them "witchcraft in chocolate form," and honestly, that stuck with me. It's not often that something so simple creates that kind of moment around a table.
Ingredients
- 300 g high-quality dark or milk chocolate, chopped: The chocolate is your entire foundation—cheap chocolate won't melt smoothly or taste rich enough to make this worth the effort. I learned quickly that splurging here actually matters.
- 6 tbsp unsweetened cocoa powder: This goes inside the bomb and gives you that deep, slightly bitter chocolate punch that makes people close their eyes when they drink it.
- 6 tbsp powdered sugar: Cuts the cocoa's intensity and adds just enough sweetness to balance everything.
- 1 cup mini marshmallows: The whole point of the surprise inside—get them small enough that they dissolve quickly but substantial enough that people know they're there.
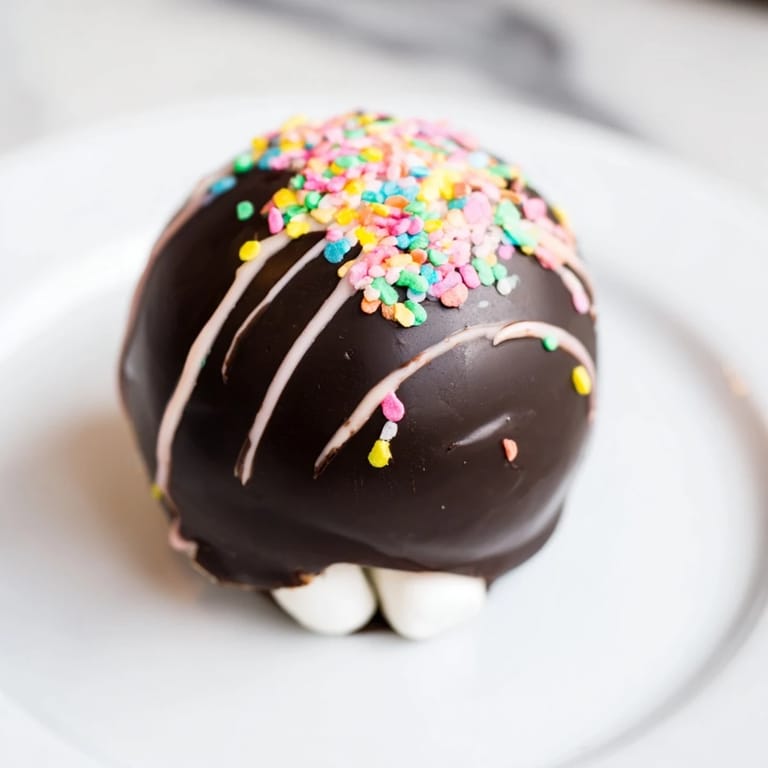
- 50 g white chocolate, melted (for drizzling): This is optional decoration, but it makes them look like you spent actual money on them.
- Sprinkles, to taste: The final flourish that makes them feel celebratory without trying too hard.
Instructions
- Melt your chocolate carefully:
- Use a double boiler if you have the patience, or do the microwave method in 30-second bursts and stir between each one. You're looking for silky, smooth chocolate with no grainy bits—rushing this step makes everything harder later.
- Coat the molds:
- Use a pastry brush and really press that chocolate into every curve of the silicone molds, making sure there are no thin spots. A thick, even layer is what keeps these from shattering when you unmold them.
- Double-layer for strength:
- After the first chill, add a second coat and wait another 10 to 15 minutes until they're completely set. This is worth the extra time—thin shells will crack and ruin everything.
- Unmold with patience:
- Gently flex the silicone and pop those chocolate halves out. If they stick, wait a minute and the warmth of your hands will help release them without breaking.
- Fill one half:
- Measure out 1 tablespoon cocoa powder, 1 tablespoon powdered sugar, and a generous spoonful of mini marshmallows into the bottom of each shell half. Don't overstuff or you won't be able to seal them properly.
- Seal with a warm plate:
- Heat a plate in the microwave for about 30 seconds, then gently press the rim of an unfilled shell half onto it just enough to soften the edge. Quickly press it onto the filled half and hold for a moment—this creates a seal that actually holds.
- Decorate and set:
- Drizzle white chocolate and add sprinkles if you're feeling fancy, then let everything set at room temperature. Patience here means a beautiful finished product.
 Save
Save There was this moment at a dinner party where someone dunked their bomb into their mug and the whole thing erupted into this beautiful cloud of chocolate and marshmallow, and the whole table leaned in like they were watching something sacred. That's when these stopped being a novelty dessert for me and became something I actually wanted to perfect.
Flavor Variations Worth Trying
The beauty of these is that once you nail the basic technique, you can play with flavors. I've done a dark chocolate and cinnamon version that feels sophisticated, and a milk chocolate with crushed peppermint that tastes like winter in a mug. The filling is where you get creative—the chocolate shell is just your canvas.
Storage and Timing
These actually get better with a day or two of sitting, so make them ahead without guilt. They keep at room temperature in an airtight container for up to two weeks, which means you can always have something fancy on hand. I keep a batch in my pantry just in case someone unexpected stops by.
The Moment of Truth
Serving these is genuinely fun because the experience is as important as the taste. Pour water that's actually hot—not just warm—over each bomb, stir gently, and watch what happens. The marshmallows will float, the cocoa will bloom, and everyone gets to have a moment of pure chocolate joy.
- Use really hot milk or water, not lukewarm, or the chocolate takes forever to melt.
- Stir gently at first so you don't splash cocoa powder everywhere, then mix thoroughly once it starts to dissolve.
- If you're feeling fancy, add a cinnamon stick or a drizzle of honey to the hot milk before pouring.
 Save
Save There's something deeply satisfying about making something that feels luxurious and complicated but is actually just melted chocolate, cocoa powder, and marshmallows coming together. These remind me why I love cooking—it's not always about feeding people, sometimes it's about creating a moment worth remembering.
Kitchen Q&A
- → What type of chocolate works best for the shells?
High-quality dark or milk chocolate provides the best flavor and sturdiness for molding the shells.
- → Can the filling be customized?
Yes, adding cinnamon, chili powder, or crushed peppermint candies can give the filling a unique twist.
- → How do I properly seal the chocolate spheres?
Gently warming the rim of one half on a plate and pressing it against the filled half forms a smooth seal.
- → What is the best way to serve these spheres?
Place one bomb in a mug and pour very hot milk over it, allowing it to melt into a creamy drink.
- → How should the finished spheres be stored?
Store in an airtight container at room temperature for up to two weeks to maintain freshness.