 Save
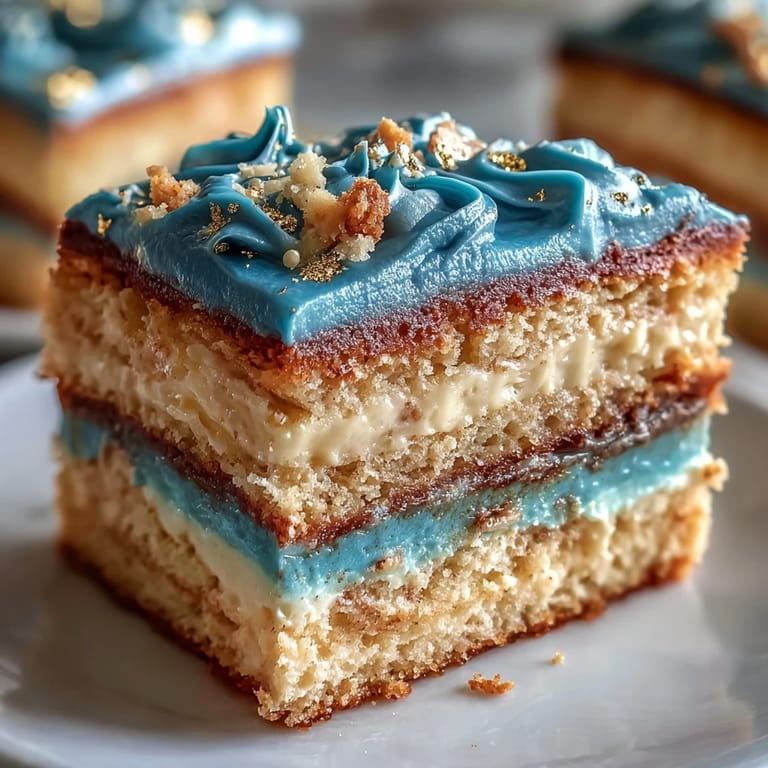
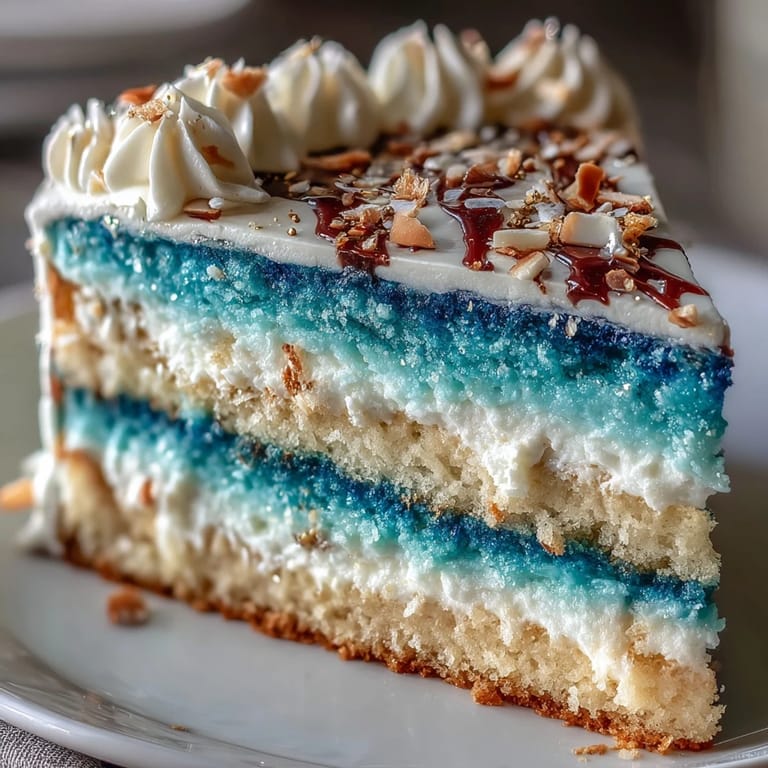
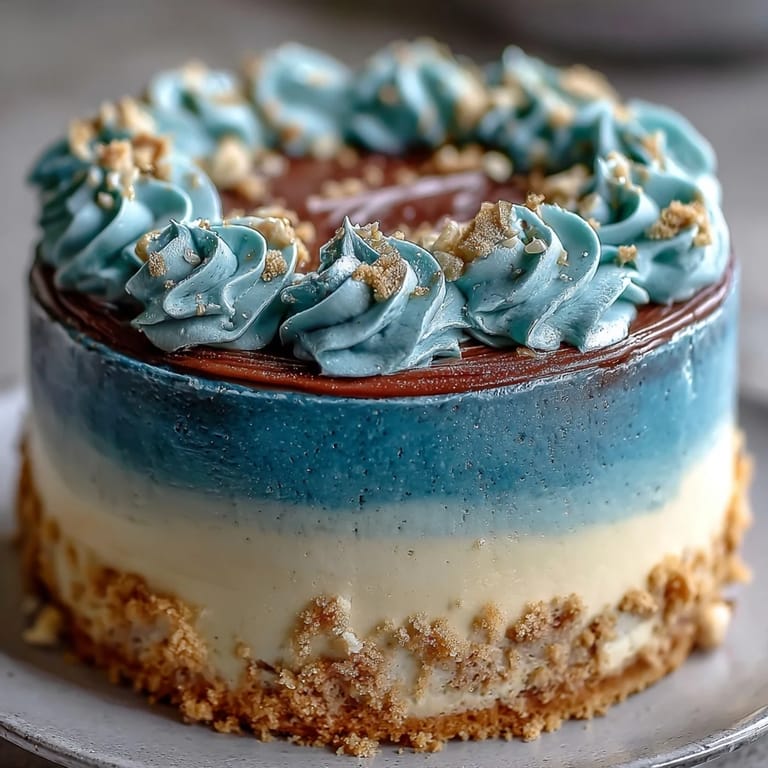
Save The first time I made a graduation cake for my cousin, music was thumping from the living room and blue sprinkles seemed to attach themselves to everything in the kitchen. Standing at the counter, I was mesmerized by the way dark blue swirls gradually faded to pale sky, almost as if the cake itself was marking the end of school and the beginning of something new. Every layer felt loaded with anticipation, not just sugar and flour, and I couldn’t help but smile when the final sweep of gold leaf made the whole thing look truly regal. Baking it was more about celebration than precision—perfect for marking a big milestone.
I’ll never forget the afternoon my nephew burst into the kitchen, tracking in grass from a frisbee game, just as the cake came out of the fridge, chilled and sparkling with edible gold. Everyone gathered around and the excitement was so contagious, I almost forgot to snap a photo before slicing into all those dramatic blue layers. It didn’t matter—he laughed at the gold stuck to his fingers, and I realized these moments are what decorate the cake beyond buttercream and glitter.
Ingredients
- All-purpose flour: Go for fresh flour because it keeps your layers light and tender—if it’s old, the cake can feel heavy.
- Baking powder & baking soda: These leaveners ensure the layers rise evenly, no sunken middles.
- Salt: Just a pinch lifts the vanilla and balances the sweetness.
- Unsalted butter: Room temperature butter blends effortlessly and keeps your crumb moist and rich.
- Granulated sugar: Cream it with the butter well to get that fluffy texture.
- Eggs: They bind everything and add richness—crack them into a bowl first to avoid shell disasters.
- Vanilla extract: Pure vanilla gives classic flavor, so splurge if you can.
- Whole milk: Warm the milk slightly to prevent the batter from curdling.
- Blue gel food coloring (navy, royal, light blue): Use gel colors for vibrancy and avoid watery batter; start small and build up the shade.
- Powdered sugar: Sift it for a super smooth buttercream, no lumps allowed.
- Dark blue gel food coloring: Tints buttercream deeply with just a drop or two.
- Edible gold leaf or gold dust: Handle gently—it can float away or tear if you’re too rough.
- Clear alcohol (vodka or lemon extract): Helps gold dust stick and shine; use sparingly, and brush with a steady hand.
Tired of Takeout? 🥡
Get 10 meals you can make faster than delivery arrives. Seriously.
One email. No spam. Unsubscribe anytime.
Instructions
- Prep your pans and ingredients:
- Grease three cake pans and line each with parchment so nothing sticks, then let all ingredients come to room temperature for easy mixing.
- Mix the dry:
- Whisk flour, baking powder, baking soda, and salt together until well blended—this prevents clumps and helps your cake rise perfectly.
- Cream butter and sugar:
- Turn your mixer to medium and beat until pale and fluffy, the sound of the mixer almost hypnotic; scrape down sides to avoid pockets of unmixed butter.
- Add eggs and vanilla:
- Drop in eggs one at a time, letting each fully combine before the next—watch as the mixture becomes silkier, then blend in vanilla.
- Combine dry and wet:
- Add flour mixture and milk alternately, starting and ending with flour—mix just until you see no streaks, don’t overdo it or the cake will be tough.
- Tint and divide:
- Split the batter in three bowls, tinting each with food coloring to create a gradient; use gloves for mixing or the blue will linger on your fingers for days.
- Bake those layers:
- Smooth batter evenly into pans, bake until a toothpick comes out clean and the kitchen smells sweet; cool before handling or layers may break.
- Make the buttercream:
- Beat room temp butter until creamy, then add sifted powdered sugar in stages—pour in vanilla and just enough milk for spreadability, then blend in blue gel coloring.
- Assemble and stack:
- Level the cake tops if needed, layer darkest to lightest, and spread buttercream between; work slowly so layers stay intact.
- Crumb coat and chill:
- Cover the whole cake in a thin buttercream layer to seal in crumbs, then chill so it firms up and makes final frosting easier.
- Frost and ombre:
- Use the dark blue buttercream for the sides and blend lighter tones up to the top—use a cake turntable if you have one for a smooth finish.
- Add gold finish:
- Apply gold leaf gently or brush on gold dust for striking accents; don’t rush—each flick turns the cake into a showpiece.
- Chill and serve:
- Keep the cake in the fridge until it’s time to celebrate, then slice and enjoy with friends, with the gold glinting in the light.
 Save
Save When we placed the finished cake on the table, everyone paused—not just for photos, but because the ombre blue and gold felt exactly right for graduation. Sometimes, a dessert really does become the centerpiece of celebration, and it makes all those tiny kitchen hiccups completely worthwhile.
How To Get That Perfect Ombre Effect
The real thrill comes as you tint the batters and buttercream. I’ve found it helps to start with the lightest color, then add deeper blue gradually—if you overshoot, just swirl in a tiny bit more white batter until it’s spot on. For buttercream, layering and blending with an offset spatula gives a smooth gradient, and a cake turntable makes all the difference for even textures.
Making Gold Accents Pop
Edible gold leaf is tricky—drafts or quick movements can send it fluttering. Use dry hands and a soft brush, and set gold gently; even a little shimmer makes the cake look luxe. If you prefer gold dust, mixing it with vodka creates a paint that sticks beautifully and dries fast.
Decorating For Graduation Parties
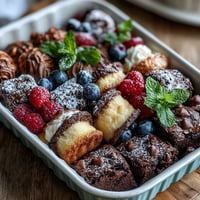
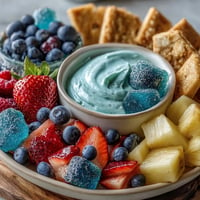
Graduation toppers add a playful touch and chocolate stars are always a hit. Try fresh berries if you want a bit of tart contrast to all that buttercream. If you’re serving outdoors in summer, keep the cake chilled right up to the last minute for best results.
- Don’t decorate before the cake is fully cool or the gold will melt.
- If you level the layers, save the scraps for snacking.
- Always check that gold decorations are truly edible.
 Save
Save May your graduation cake shine as brightly as the milestone you’re celebrating. Sharing a slice together is the sweetest way to mark the fresh start ahead.
Kitchen Q&A
- → How is the ombre effect achieved?
Divide batter into portions and tint each with varying shades of blue, then bake separately for gradient layers.
- → What makes the buttercream rich and creamy?
Butter and powdered sugar are whipped thoroughly, with milk or cream added for a smooth texture and vanilla for flavor.
- → How do you safely use gold decorations?
Apply edible gold leaf or brush gold dust mixed with alcohol, ensuring all decorations are specifically edible.
- → Can I customize the decorations?
Yes, add graduation-themed toppers, chocolate stars, or fresh berries to suit the celebration or personal taste.
- → What are the key allergens?
The cake contains wheat, eggs, and dairy. Always check gold decoration packaging for additional allergens.
- → What tools help with assembly and decoration?
Three round cake pans, an electric mixer, offset spatula, parchment paper, and a cake turntable ease preparation.