 Save
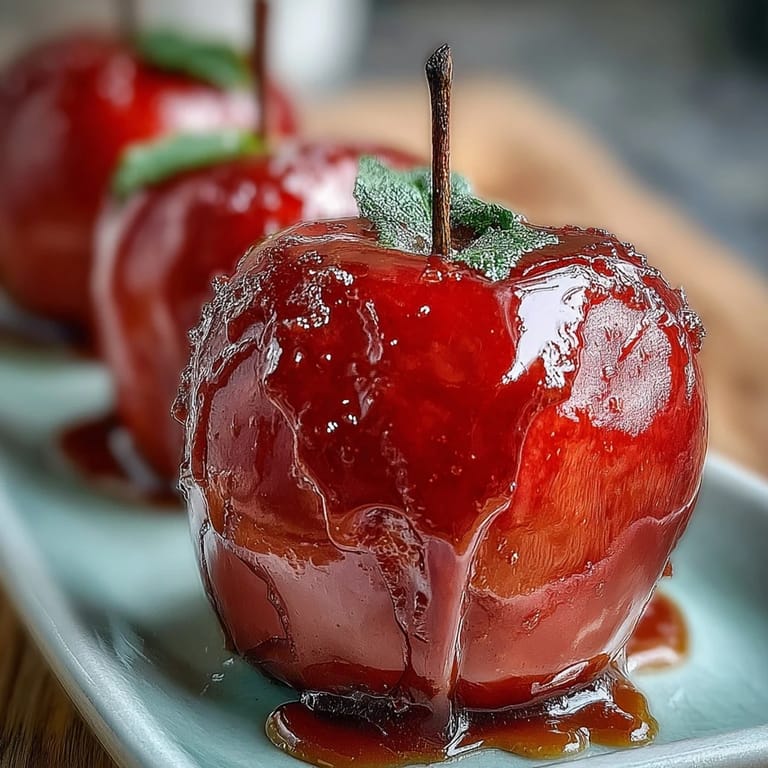
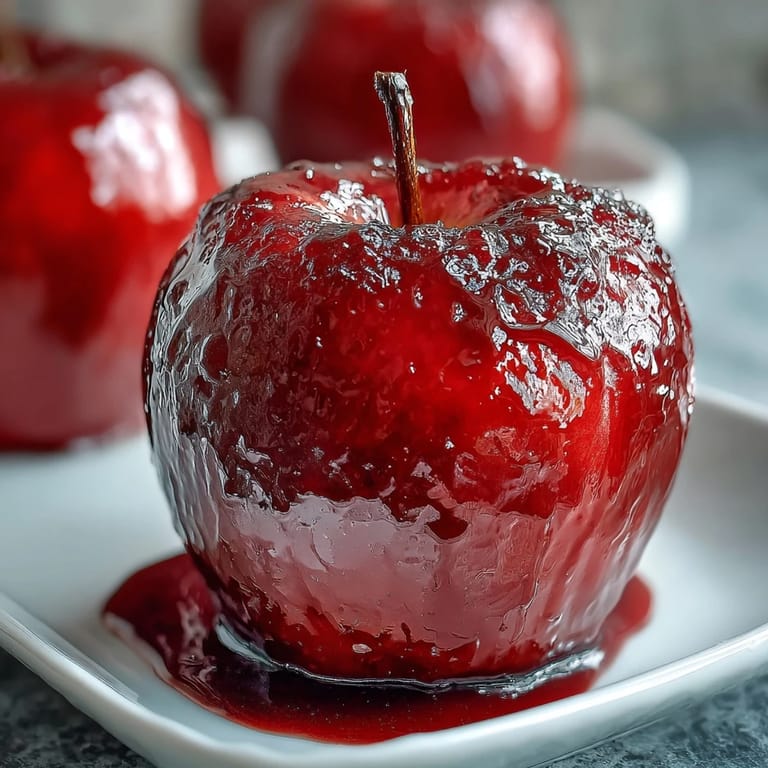
Save Classic red candy apples are the ultimate fall tradition—a treat that transforms simple, crisp apples into gleaming jewels of nostalgia. With their glossy, crimson coating that cracks with a satisfying snap, these iconic sweets have been stealing the show at fairs, carnivals, and autumn celebrations for generations. The contrast between the tart, juicy apple and the sweet, crunchy candy shell creates a flavor experience that's both thrilling and timeless. Whether you're planning a Halloween party, celebrating the harvest season, or simply craving a taste of childhood, these candy apples deliver pure magic on a stick.
Save Making candy apples at home is easier than you might think, though it does require attention to detail and respect for the hot sugar syrup. The key to success lies in reaching the precise hard crack stage at 300°F—this ensures your candy shell will be perfectly crisp and won't turn sticky. Choose firm, tart apples like Granny Smith for the best contrast with the sweet coating, and make sure they're completely dry before dipping to help the candy adhere properly. With a candy thermometer and a little patience, you'll create bakery-quality treats that rival anything from the fairgrounds.
Ingredients
- Apples: 8 medium Granny Smith or Gala apples, washed and thoroughly dried
- Candy Coating: 2 cups (400 g) granulated sugar
- 1 cup (240 ml) light corn syrup
- 1/2 cup (120 ml) water
- 1/2 tsp red food coloring (liquid or gel)
- Extras: 8 wooden sticks (popsicle or craft sticks)
- Nonstick cooking spray or parchment paper
Instructions
- Step 1
- Prepare a large baking sheet by lining it with parchment paper or spraying it lightly with nonstick cooking spray.
- Step 2
- Insert a wooden stick firmly into the stem end of each apple. Set aside.
- Step 3
- In a heavy-bottomed saucepan, combine sugar, corn syrup, and water. Stir to mix, then place over medium-high heat.
- Step 4
- Bring to a boil without stirring further. Attach a candy thermometer to the side of the pan.
- Step 5
- Continue boiling until the mixture reaches 300°F (149°C)—the hard crack stage (about 15–20 minutes).
- Step 6
- Remove the saucepan from heat. Immediately stir in the red food coloring until evenly blended.
- Step 7
- Working quickly and carefully (the syrup is extremely hot), tilt the pan and dip each apple, turning to coat evenly. Allow excess to drip off, then place on the prepared baking sheet.
- Step 8
- Let the apples cool completely at room temperature until the candy shell hardens (about 15 minutes).
- Step 9
- Serve within a few hours for best texture.
Zusatztipps für die Zubereitung
Use caution when working with hot syrup, as it can cause serious burns. If the candy mixture thickens while you're dipping apples, gently reheat it over low heat to restore the proper consistency. A heavy-bottomed saucepan is essential for even heat distribution and preventing scorching. Make sure your candy thermometer is accurate—test it in boiling water, which should read 212°F at sea level. Avoid stirring the syrup once it begins boiling, as this can cause crystallization and a grainy texture.
Varianten und Anpassungen
For extra flair, roll freshly coated apples in chopped nuts or sprinkles before the candy hardens. While Granny Smith apples provide a tart contrast to the sweet shell, any firm apple variety works well—try Gala for a sweeter profile or Honeycrisp for extra crunch. You can also experiment with different food coloring to create candy apples in various colors for themed parties or holidays. Consider drizzling cooled apples with melted white or dark chocolate for an elegant finish, or dust them with edible glitter for special occasions.
Serviervorschläge
Candy apples are best enjoyed within a few hours of making for optimal texture, though they can be stored at room temperature for up to 24 hours. Display them upright on a serving platter lined with parchment paper for an impressive presentation at parties. They make wonderful party favors when wrapped individually in cellophane bags tied with festive ribbons. Serve alongside other fall treats like caramel popcorn, pumpkin cookies, or hot apple cider for a complete seasonal spread. These treats are perfect for Halloween parties, fall festivals, birthday celebrations, or any gathering where you want to add a touch of nostalgic charm.
 Save
Save There's something wonderfully rewarding about creating these gleaming red candy apples from scratch. The process may seem intimidating at first, but once you master the technique, you'll find yourself making them again and again throughout the fall season. Each bite delivers that satisfying crack of candy shell followed by the fresh, juicy apple underneath—a textural and flavor combination that never gets old. Whether you're reliving fond memories or creating new ones, these classic candy apples bring joy to everyone who encounters them. So gather your ingredients, heat up that sugar syrup, and get ready to create some seriously stunning treats that taste every bit as good as they look.
Kitchen Q&A
- → What type of apples work best?
Firm apples like Granny Smith or Gala provide the best balance between tartness and crunch when coated.
- → How do I know when the candy coating is ready?
Boil the sugar mixture until it reaches 300°F (149°C), known as the hard crack stage, for the perfect shell.
- → Can I add toppings to the candy apples?
Yes, roll the freshly coated apples in nuts, sprinkles, or other toppings before the candy hardens.
- → How long should candy apples cool before serving?
Allow them to cool at room temperature for about 15 minutes until the coating hardens completely.
- → What precautions are needed when making the candy coating?
Handle hot syrup carefully to avoid burns and reheat gently if the coating thickens during dipping.